Showcase Trip Advisor reviews on your WordPress restaurant website
Trip Advisor continues to dominate the destination review and listing market in the U.S. It’s a platform that restaurants can’t ignore. In this tutorial, I’ll show you a couple ways you can integrate your Trip Advisor profile with your WordPress website, to drive more reviews and improve social proof.
Introducing Trip Advisor Widgets
Trip Advisor doesn’t allow you access to the data it holds about your restaurant through an API. That’s a shame. It means you’ll never be able to fully integrate its content with your site design. Your only option is to display their widgets with their design, regardless of whether or not it fits well with your website.
I talked a little about how to decide whether to add third-party content that doesn’t blend with your site when I reviewed Yelp plugins for WordPress, but it applies here too. It’s worth a look back.
Instead of letting us retrieve the Trip Advisor data and decide how to display it on our sites, Trip Advisor provides a bunch of “widgets” which we can place on our site. These “widgets” are not the same as the WordPress widgets you might be familiar with. Instead, they’re small code snippets that you can copy/paste into your site to show off reviews, a Certificate of Excellence, recommended badges and more.
Accessing your Widgets
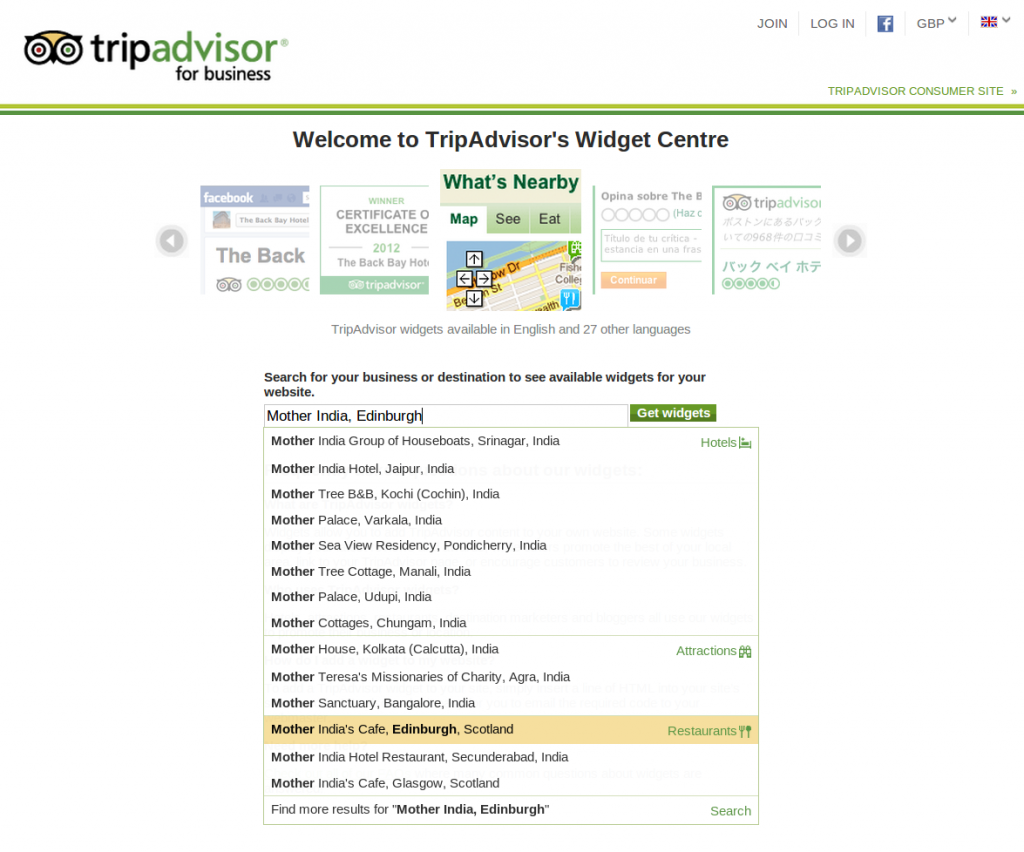
To get access to your widgets, check out Trip Advisor’s widgets landing page. They’ll ask you to enter your restaurant details — you need to be on Trip Advisor first! For this tutorial, I’ll pretend to be Mother India’s Cafe, a great Indian-Tapas place here in Edinburgh. I have no association with them, just a fan of their food!
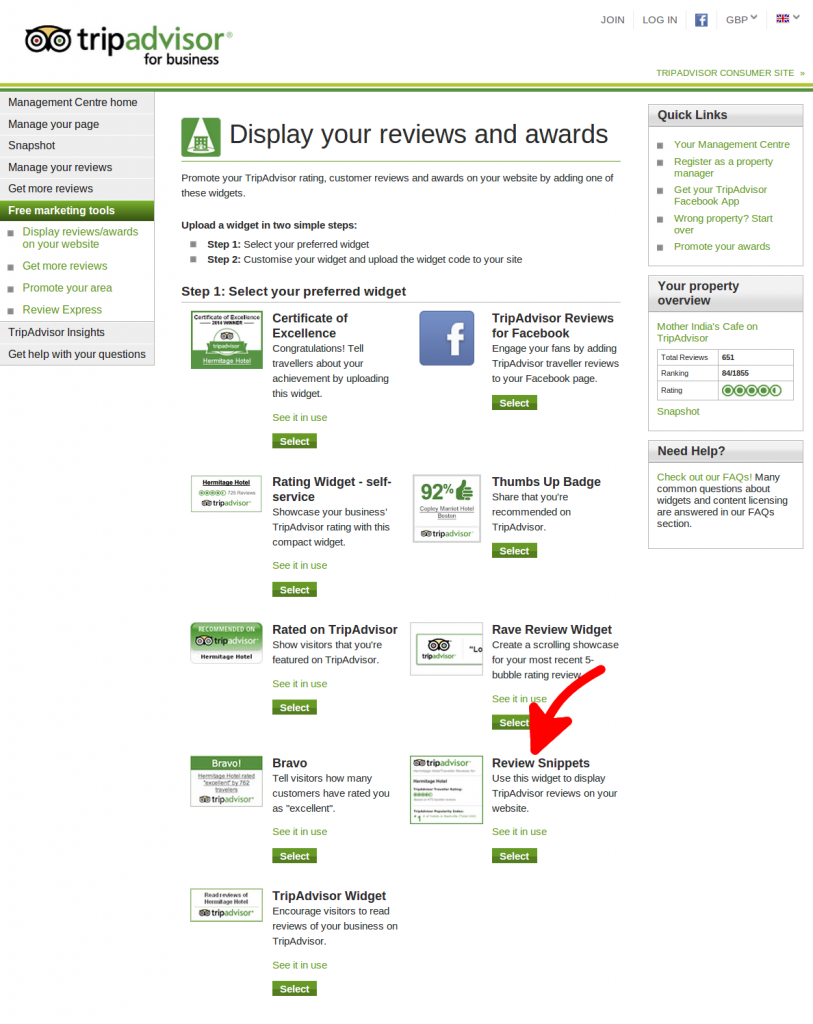
Once you’ve put in your address, you’ll be shown all the widgets that are available to you. We’ll walk you through adding the Review Snippets widget in this tutorial, but take a moment to look at all the widgets on offer. There’s widgets for your Facebook Page, a cool little Thumbs Up badge and more.
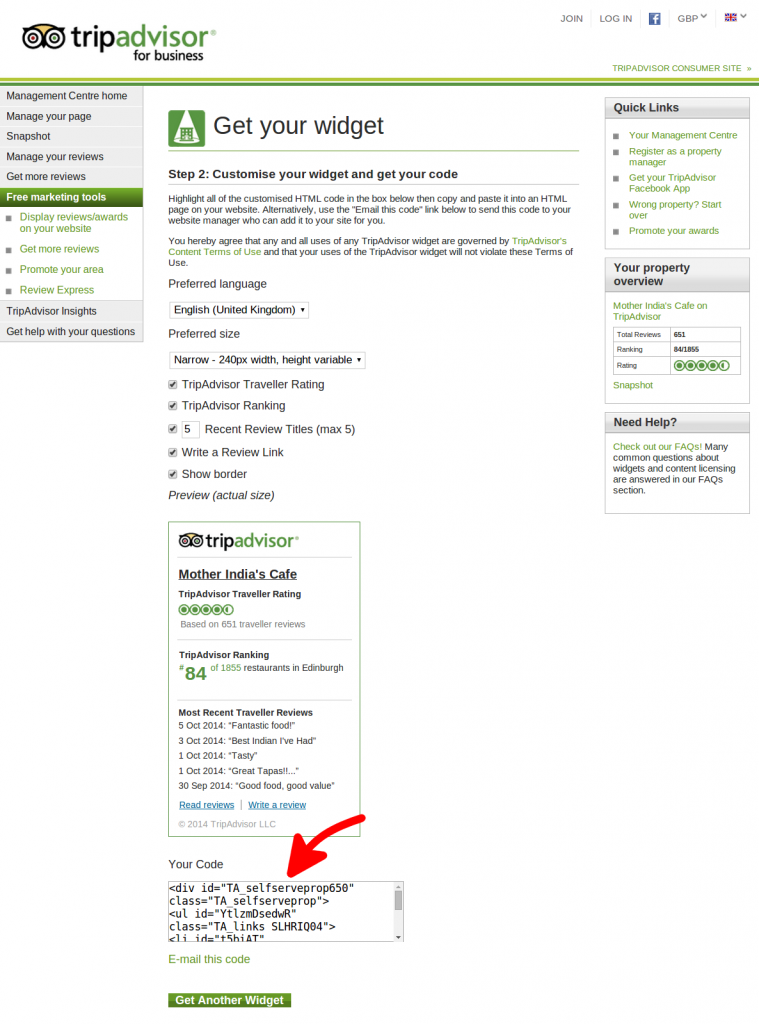
Click on the Select button below the Review Snippets widget. On this page, you’ll see a bunch of options for changing the size and adding or removing components. When you change the options, you’ll see the updates right there, so go ahead and play around until you like what you see. But here’s a tip: keep the Write a Review Link. You want the Trip Advisor reviews to burnish your reputation, but you also want to push people back to Trip Advisor to improve your ranking there.
When you’re ready, go ahead and copy the code at the bottom. Make sure you get the whole thing! The easiest way is to click in the code box and hit CTRL-A. That will select everything in that box for you.
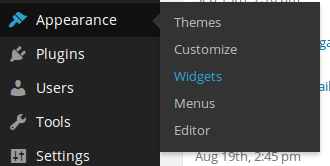
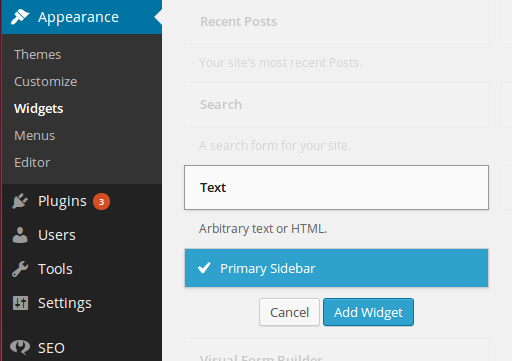
Ok, we’re almost there. Now login to your WordPress admin area and go to the Appearance > Widgets page.
On the Widgets page, find the Text Widget (near the bottom) and add this to the sidebar where you want to display the Trip Advisor content.
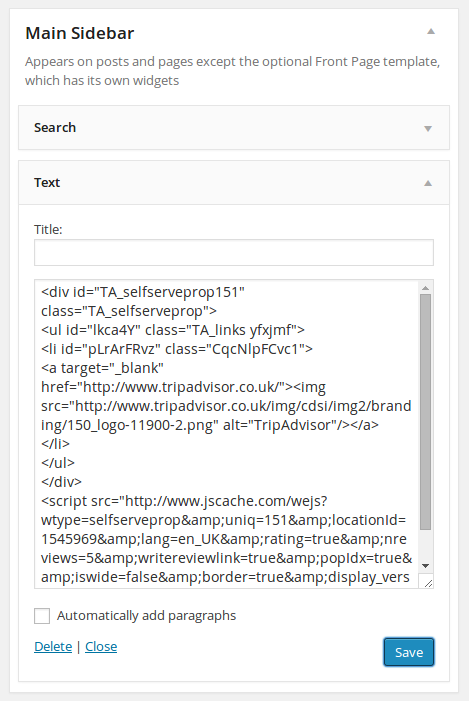
Now locate that widget in the sidebar on the right and open it up. You’ll see a Title field and a large text box. Paste the Trip Advisor widget code that you copied into this space. Then click the Save button.
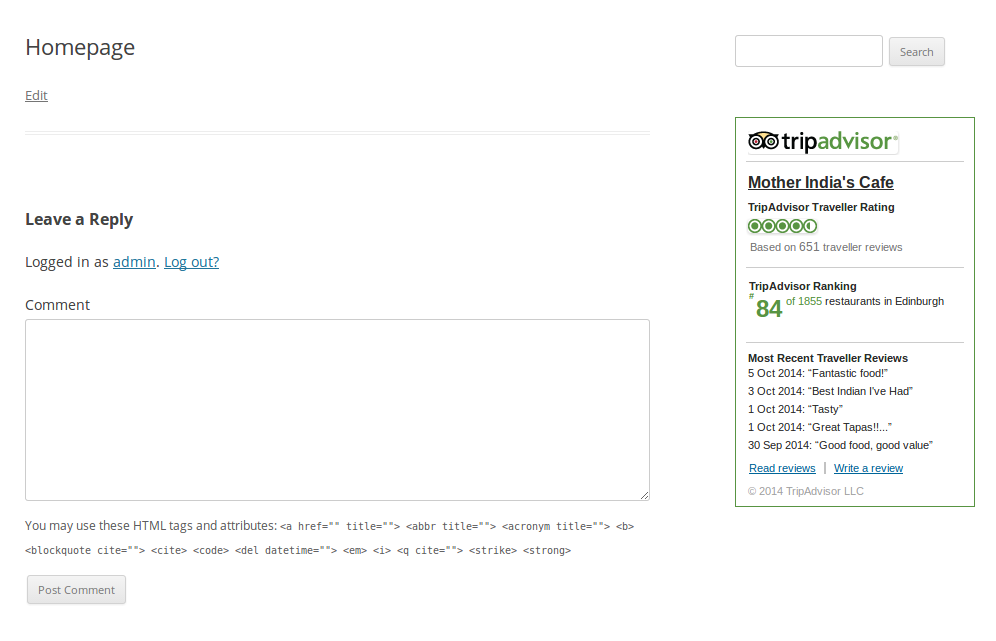
Once you’ve done this, you should see the widget appear on your site like this.
That wasn’t so hard, was it? If you want to use any of the other widgets from Trip Advisor, just follow the same steps as above. To get more help hints like this, follow me on Twitter or sign up for my mailing list.

